Bienvenido a MyEvent.com, tu plataforma integral para crear, gestionar y compartir eventos como reuniones de exalumnos, reuniones familiares, recaudaciones de fondos y encuentros corporativos.
Esta guía te ayudará a comenzar de forma rápida y segura.
Paso 1: Crea tu evento
-
Haz clic en “Elige tu evento o recaudación de fondos” en la página de inicio.
-
Haz clic en “Empezar”.
-
Elige tu paquete.
-
Inicia sesión si aún no lo has hecho, o crea una cuenta.
-
Completa los detalles de tu sitio y de tu evento:
-
Haz clic en Continuar para generar el sitio web de tu evento.
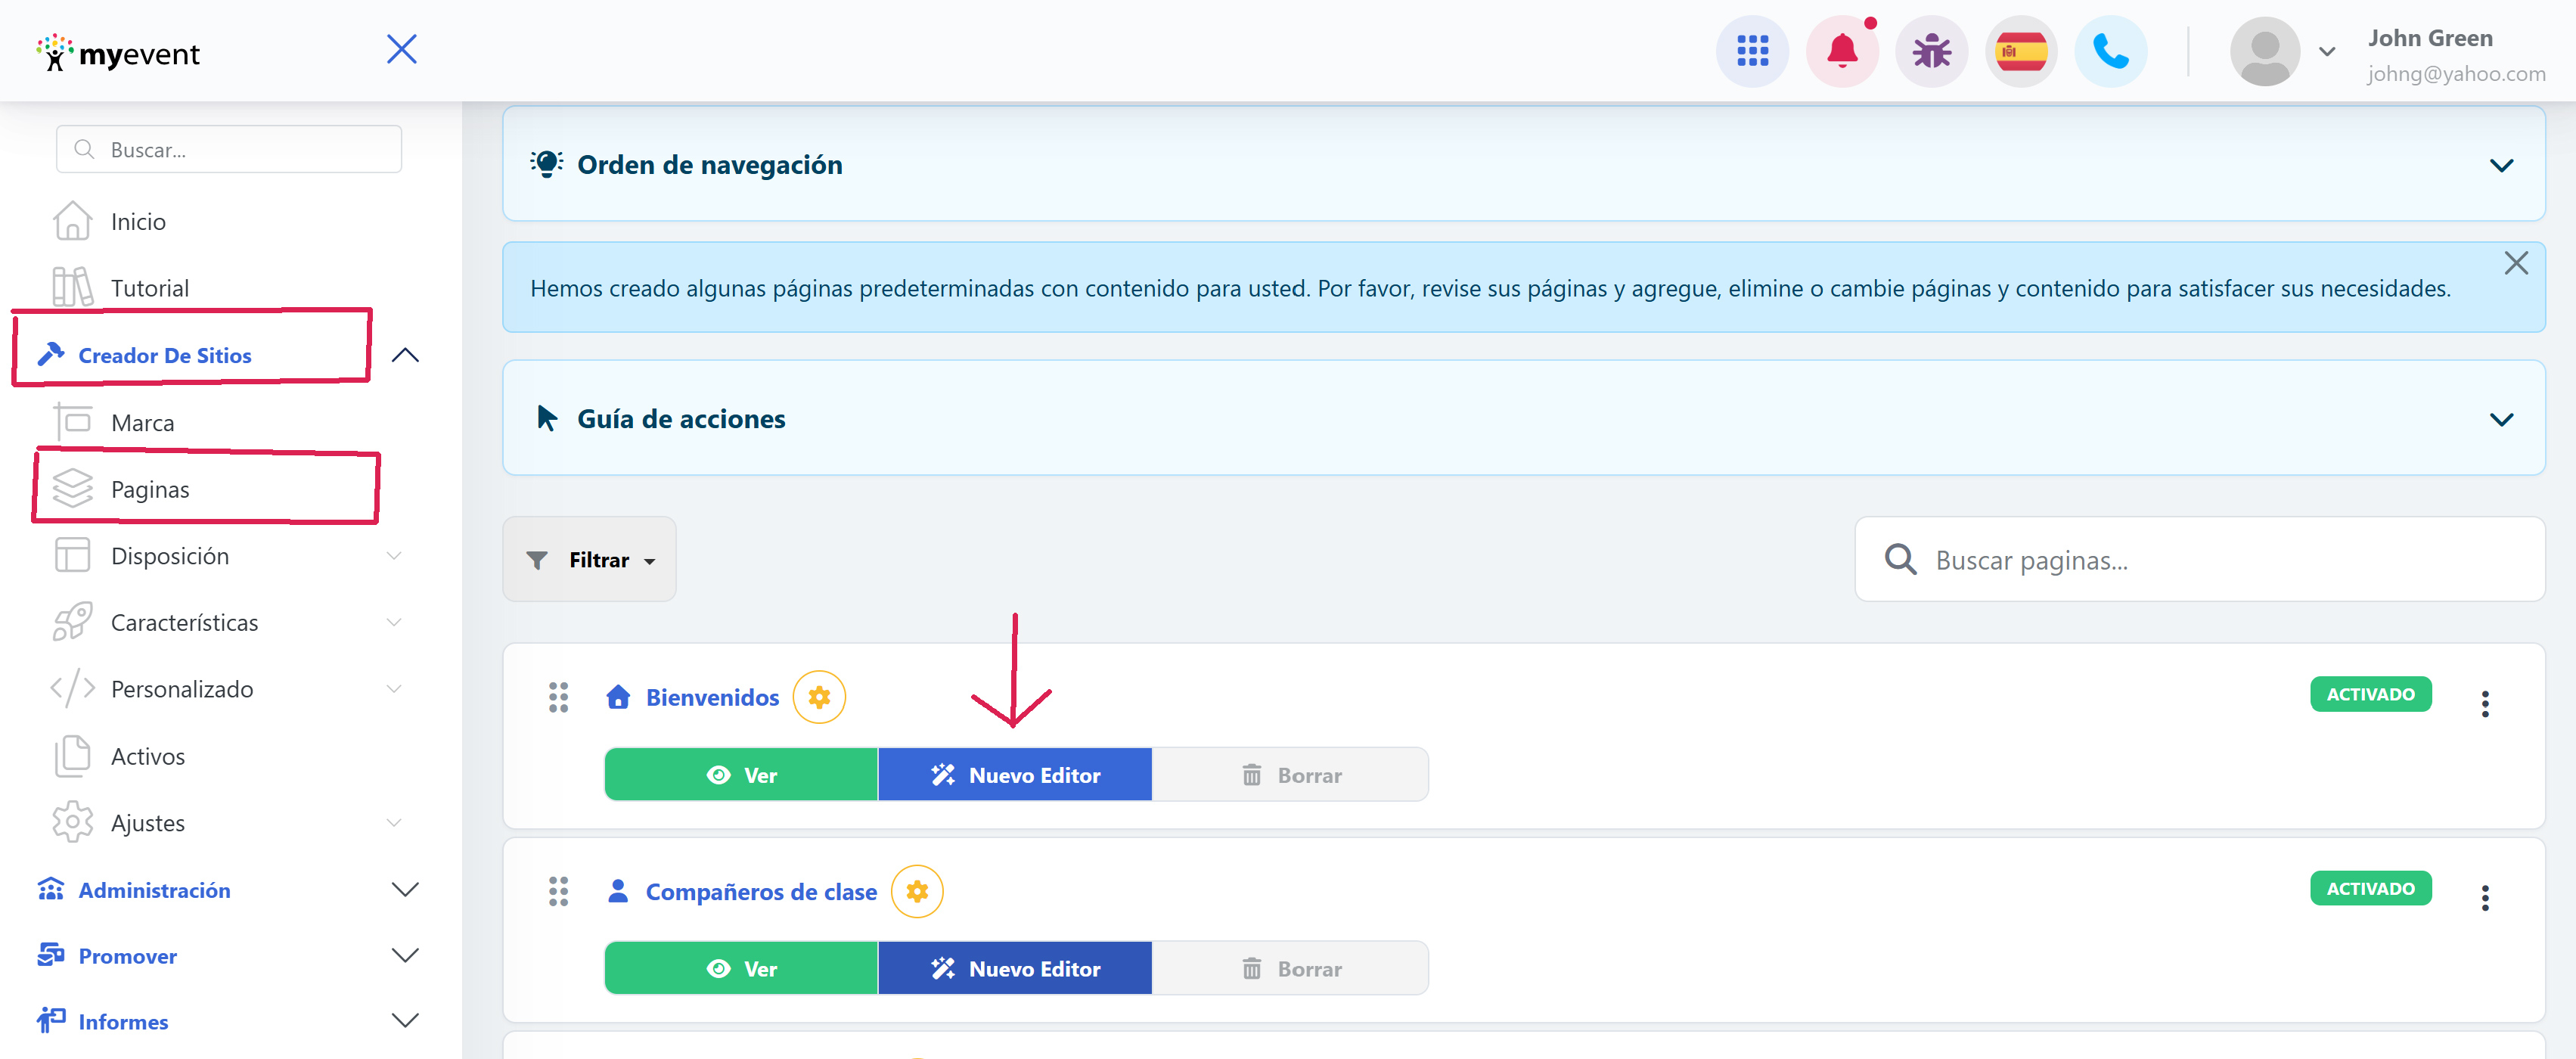
Consejo: Puedes editar los detalles de tu evento en cualquier momento en Creador de sitios→ Páginas → Inicio (o cualquier otra página)
Paso 2: Personaliza tu sitio web del evento
Personaliza tu sitio web del evento para que coincida con tu tema y tu público:
-
Ve a Creador de sitios→ Marca para ajustar colores, diseños y fondos.
-
Ve a Creador de sitios→ Páginas para añadir o editar contenido como Acerca de, Horario y Contacto.
-
Añade imágenes, vídeos y logotipos para que tu sitio sea único.
Nota: Hay secciones prediseñadas disponibles para cada tipo de evento para agilizar la configuración.
Paso 3: Configura los pagos (opcional)
Si planeas cobrar pagos:
-
Ve a Administración → Pagos → Métodos de pago.
-
Configura el método que prefieras (depósito directo, cheque por correo).
-
Establece precios de entradas, niveles de donación o tarifas de inscripción.
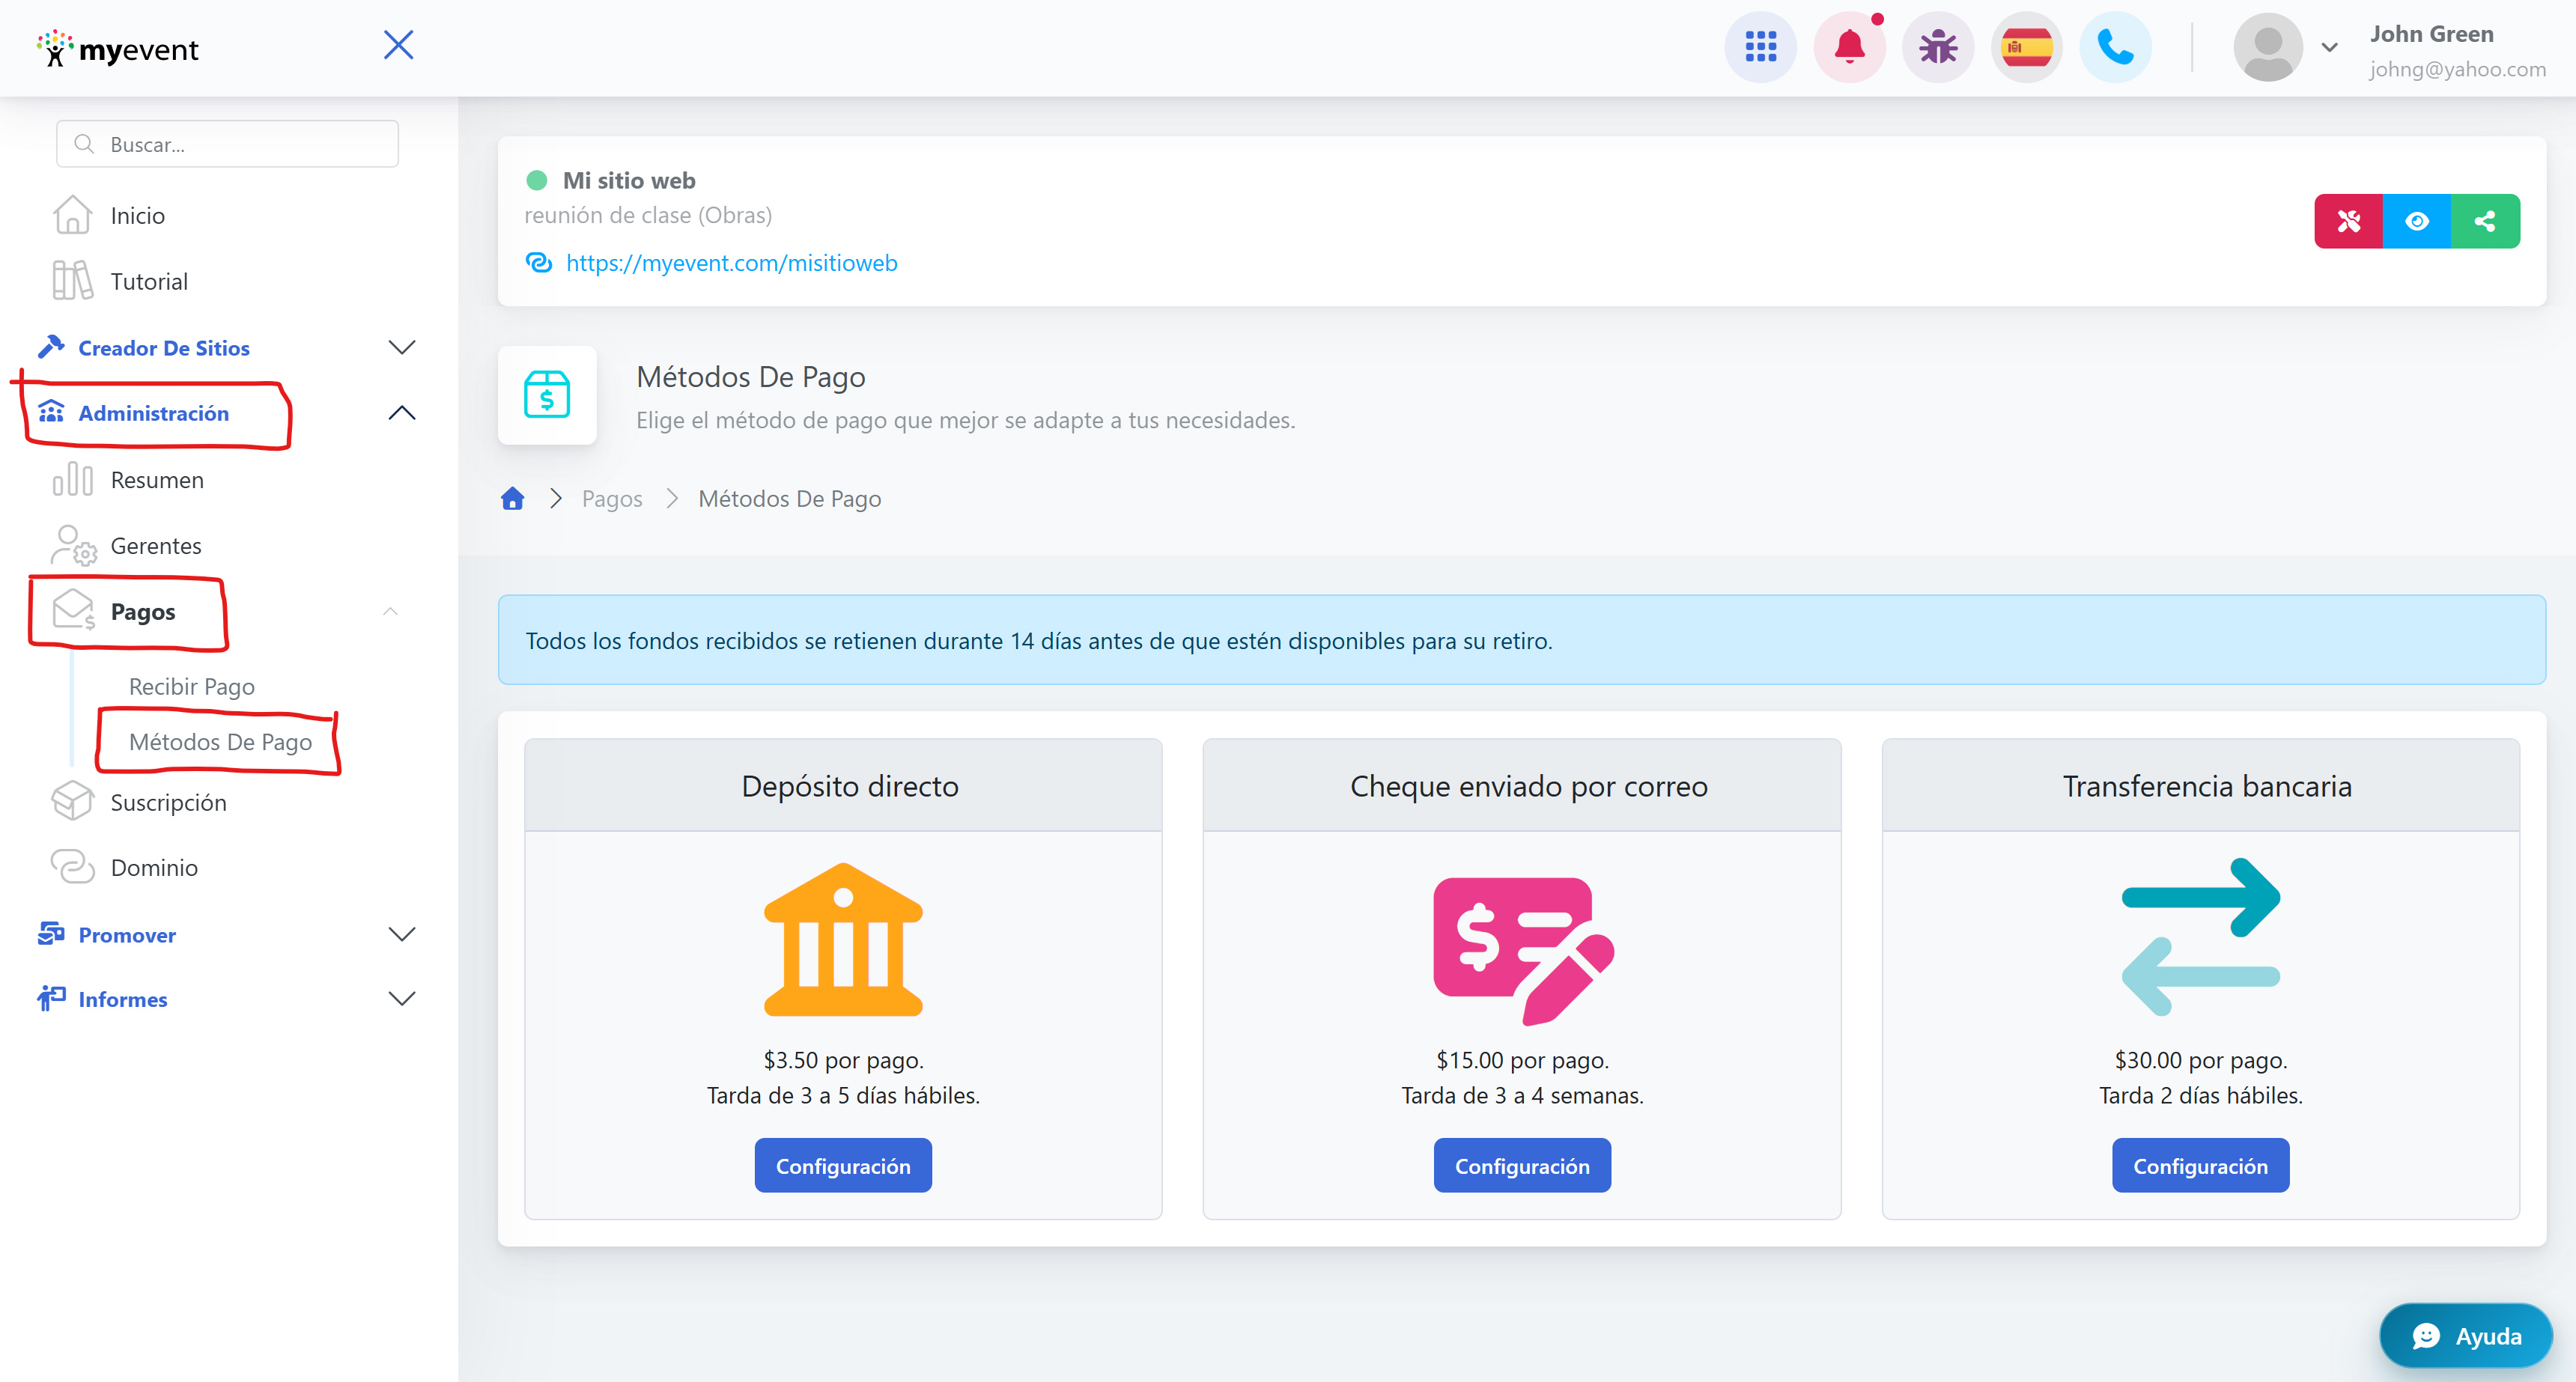
Una vez guardado, podrás solicitar un pago yendo a Administración → Pagos → Recibir Pago.
Paso 4: Lanza y comparte tu evento
Cuando tu sitio del evento esté listo:
-
Revisa todos los detalles y ajustes de diseño.
-
Comparte la URL del evento con los invitados por correo electrónico, redes sociales o aplicaciones de mensajería.
-
Supervisa las inscripciones y la participación en tiempo real desde tu panel.