
The platform allows you to edit images by rotating, resizing, or trimming.
Pictures in the in the Photo Albums (albums and sliders)
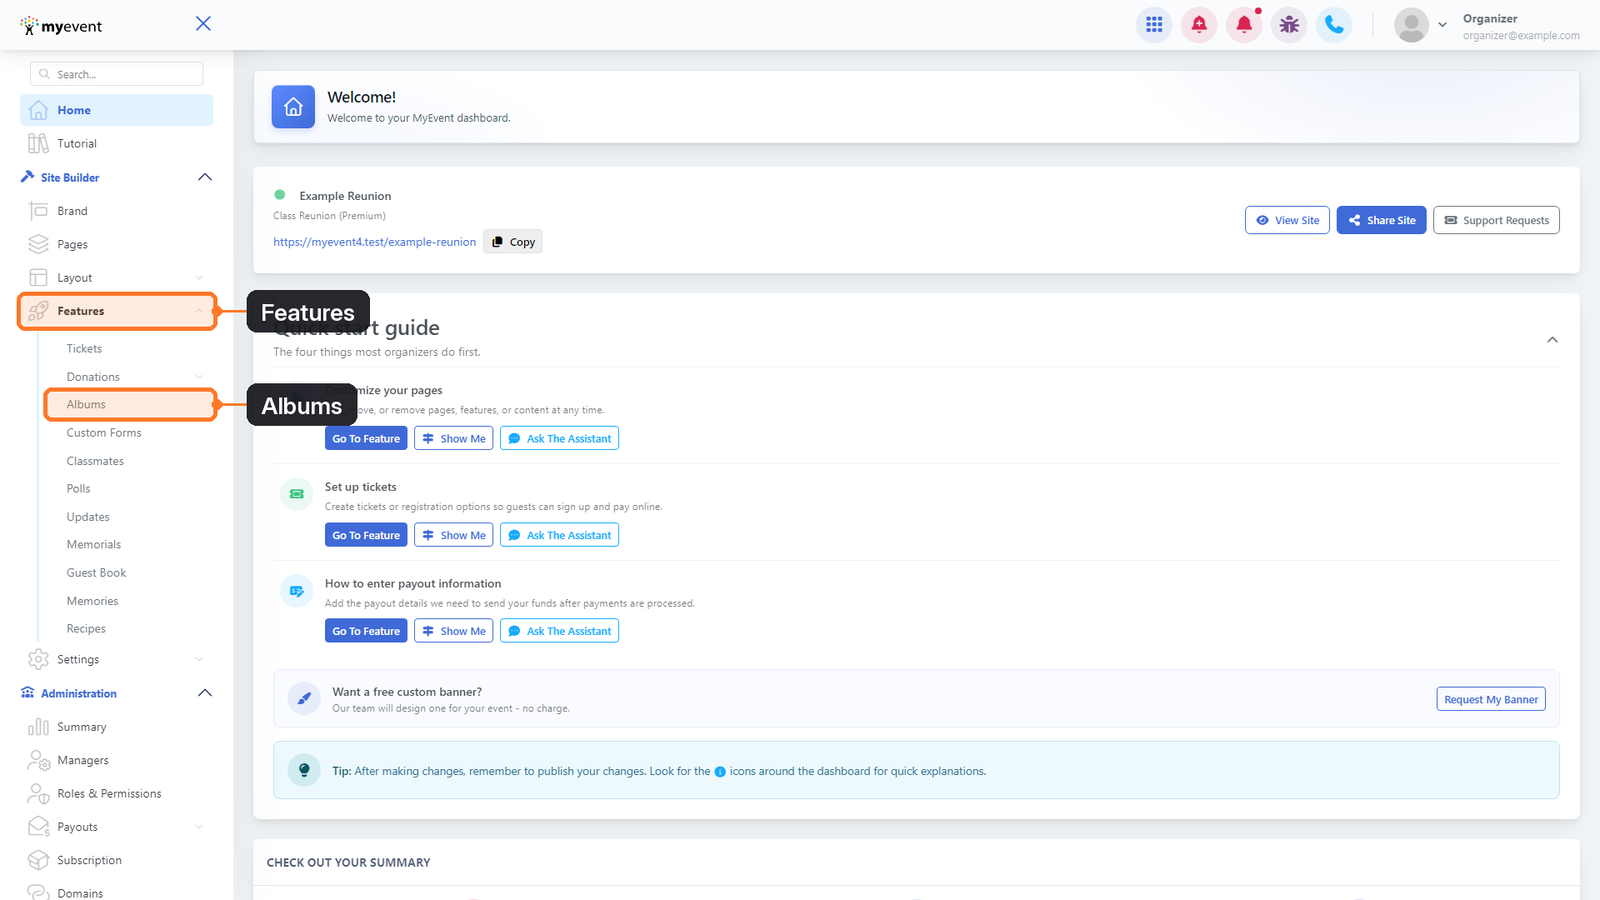
1. From the dashboard, go to Site Builder > Features > Albums.
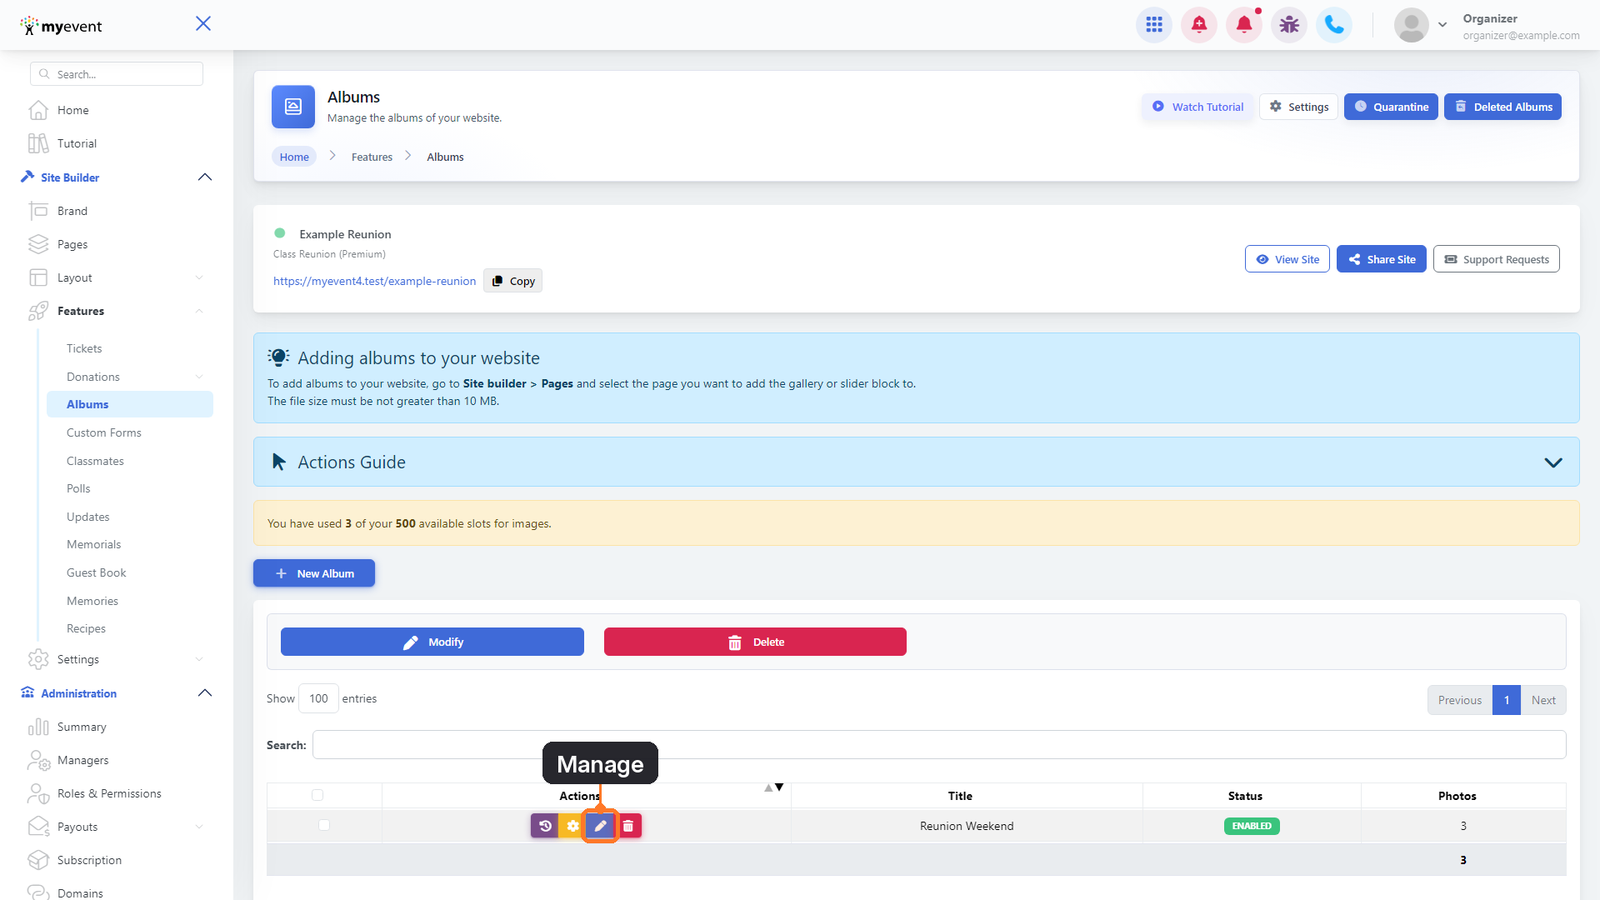
2. Find the album containing the photo you want to edit, then click the Manage button represented by the pencil icon.
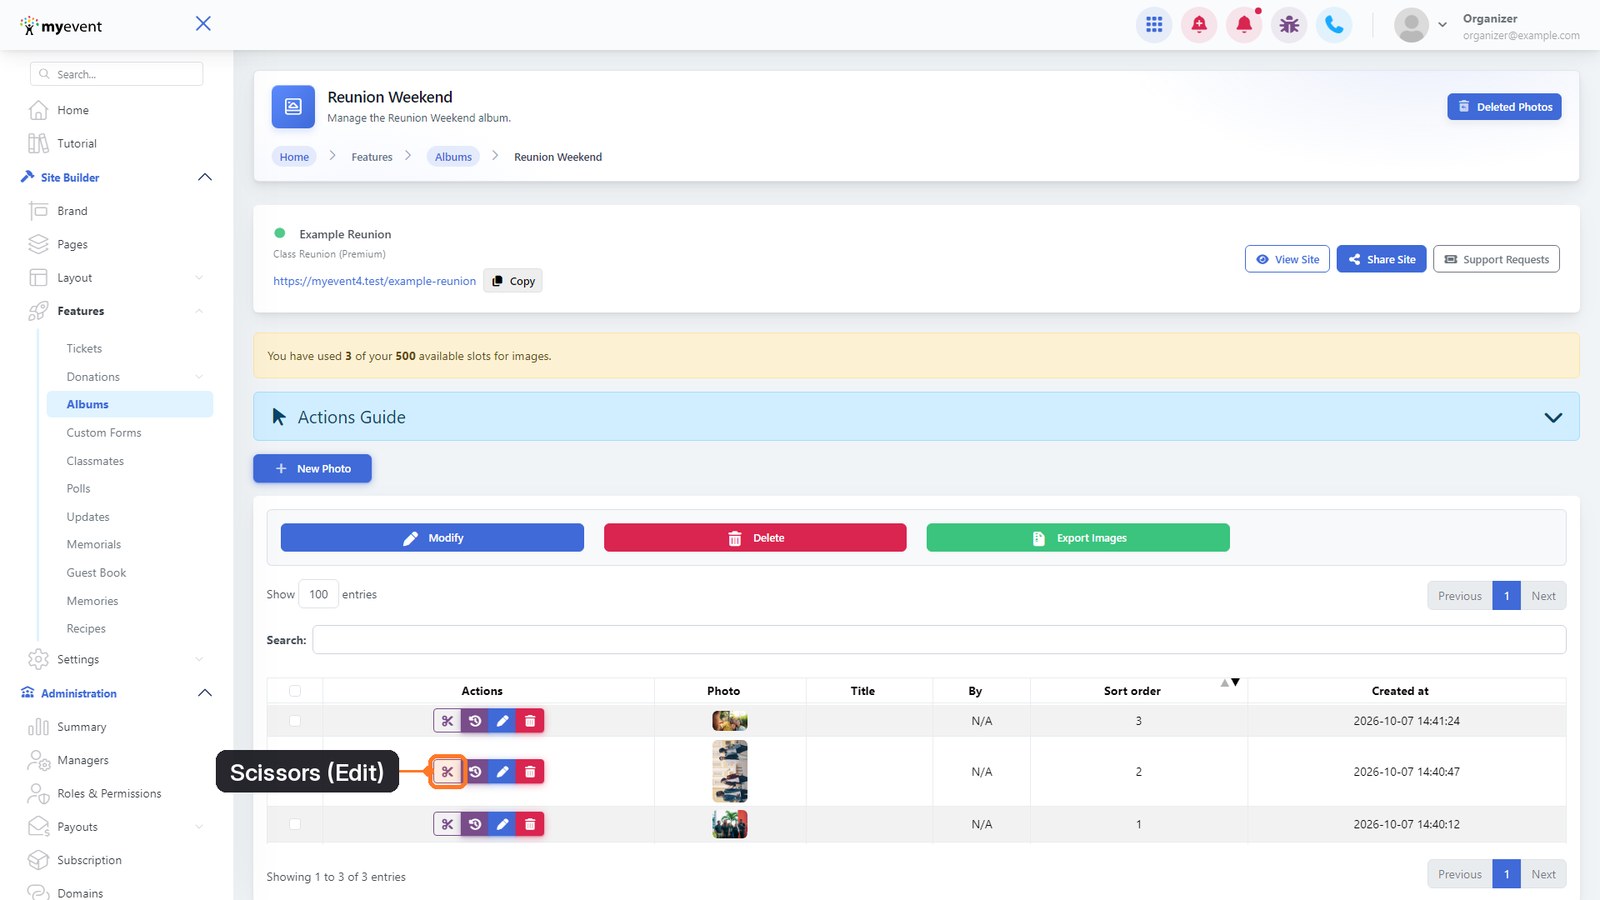
3. Locate the photo you want to modify and click the scissors ✂️ icon under Actions to open the image editor.
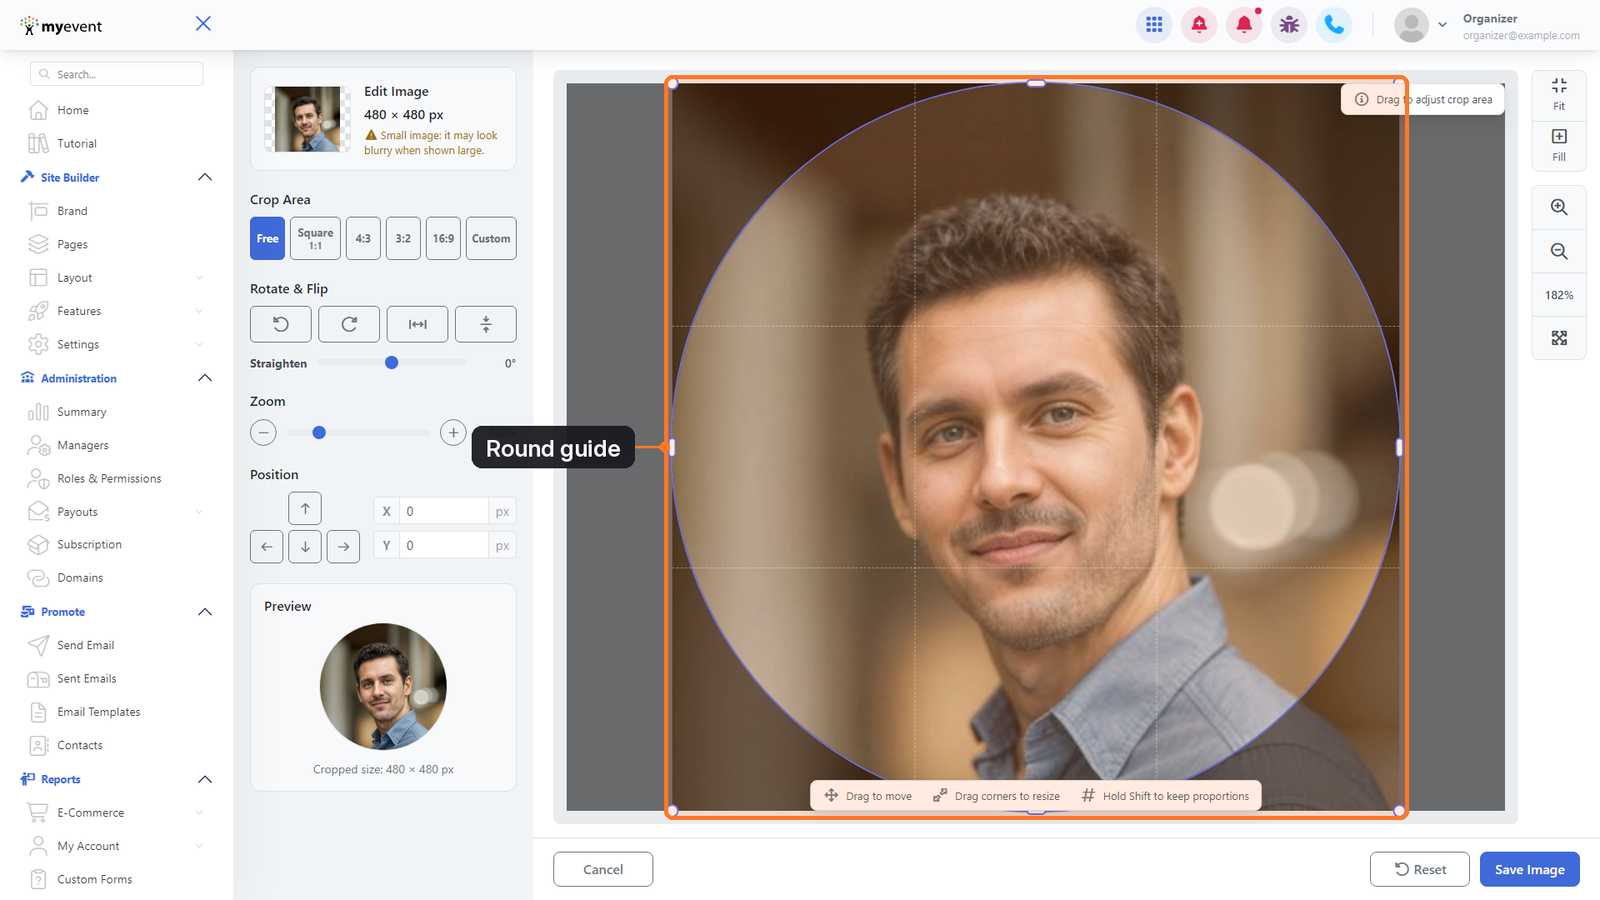
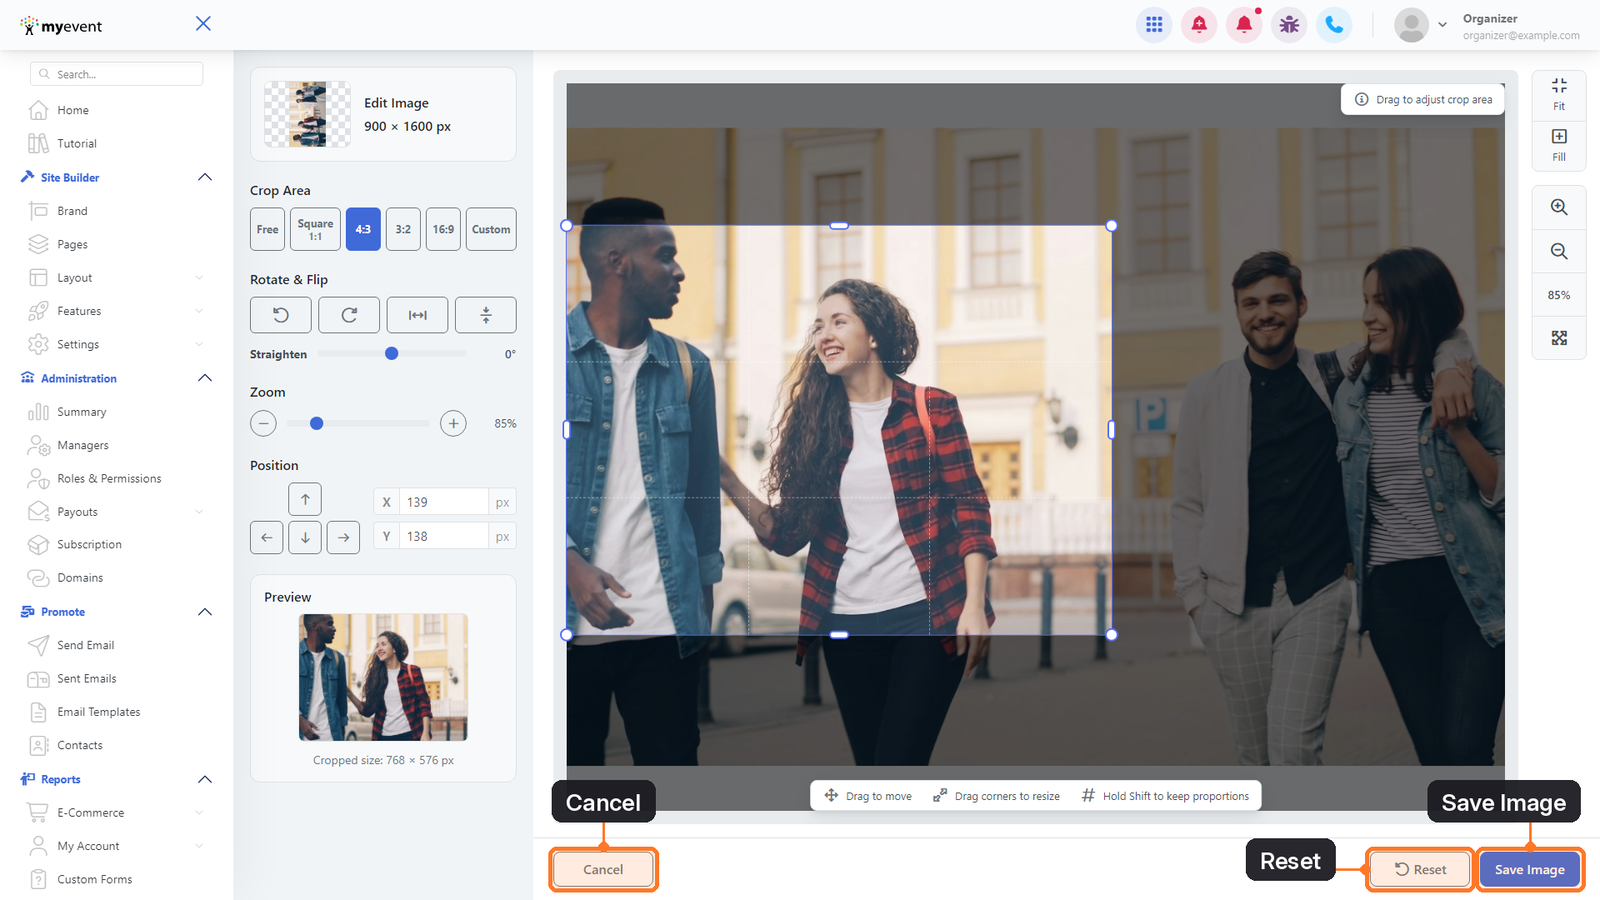
4. The image editor will open. The editing tools are located on the left, while a Preview below them shows how your cropped image will look.
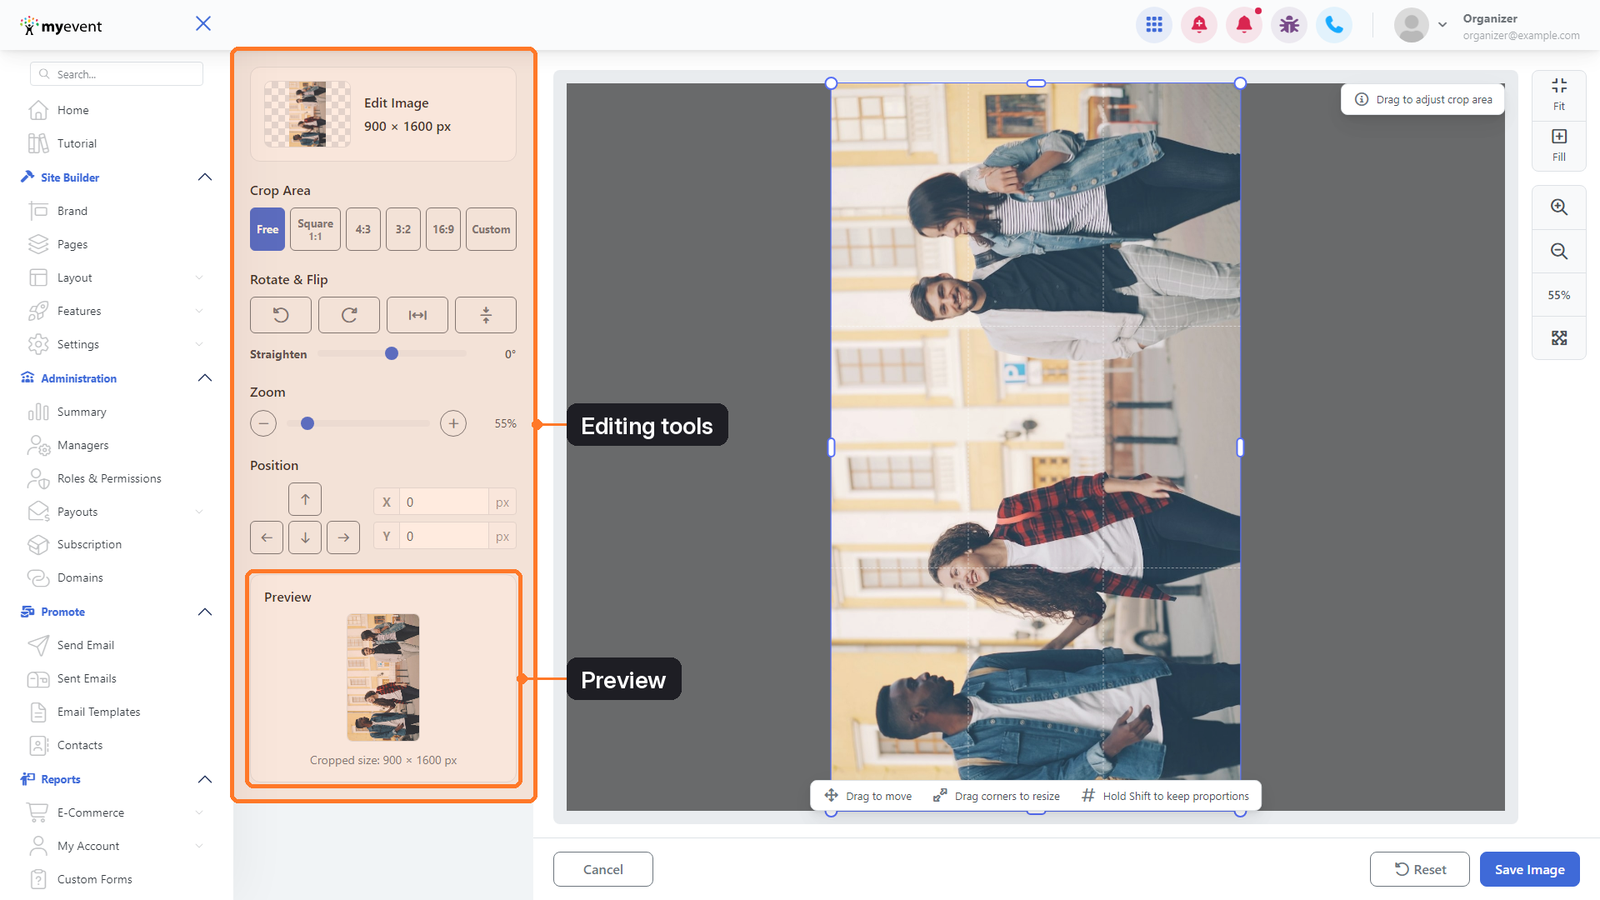
5. Use Rotate Left or Rotate Right to rotate the image by 90 degrees in either direction. You can also use the nearby flip options to mirror the image horizontally or vertically.
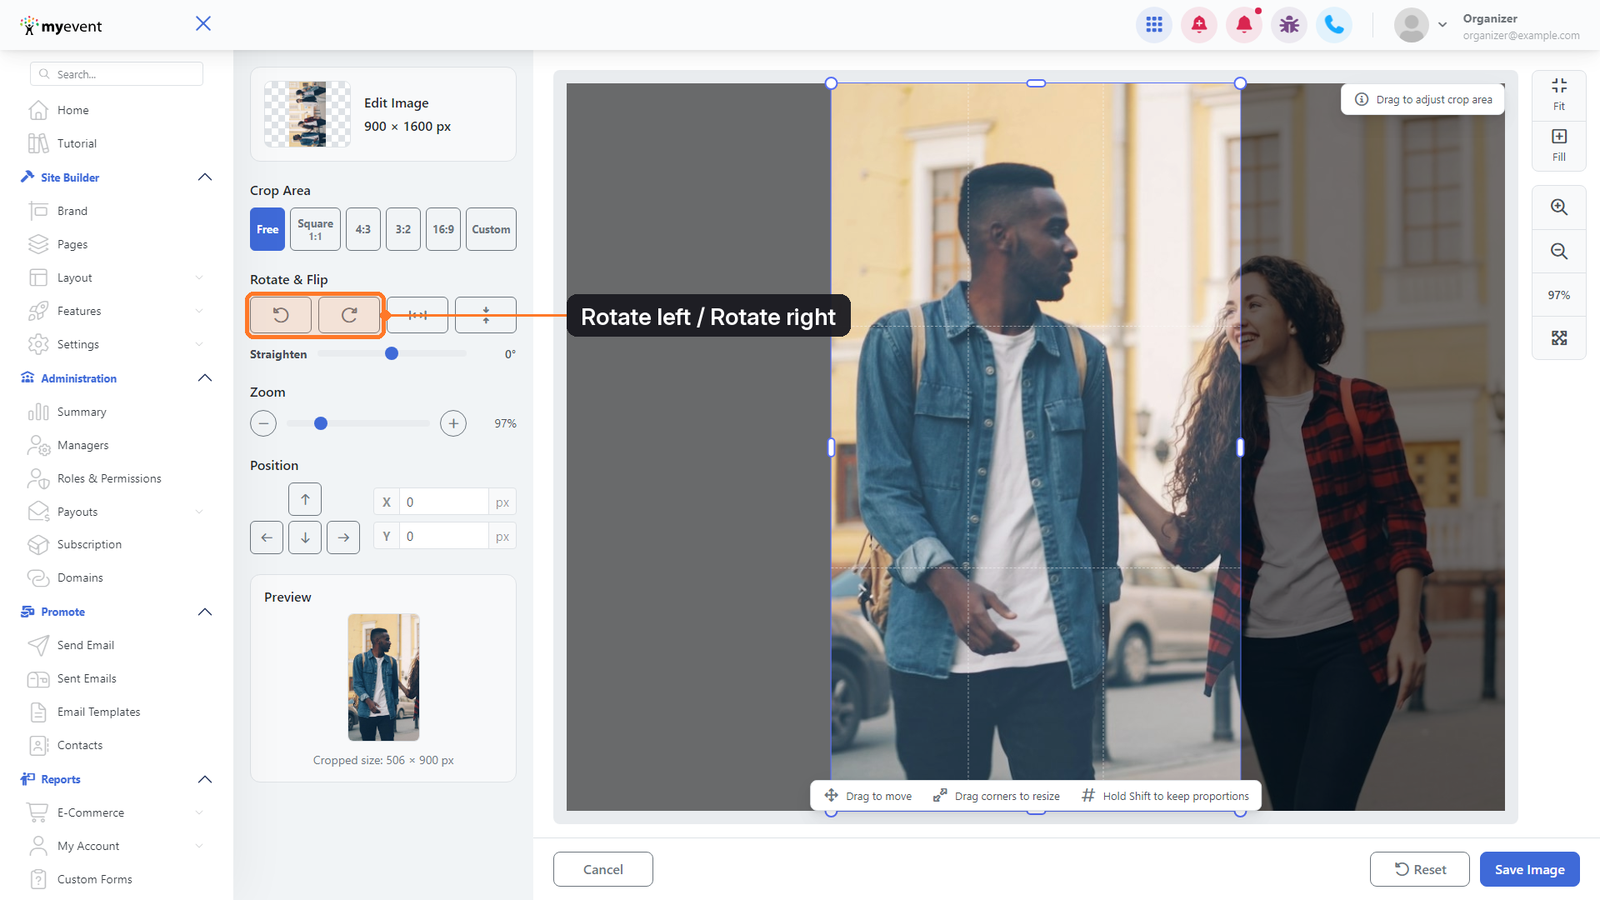
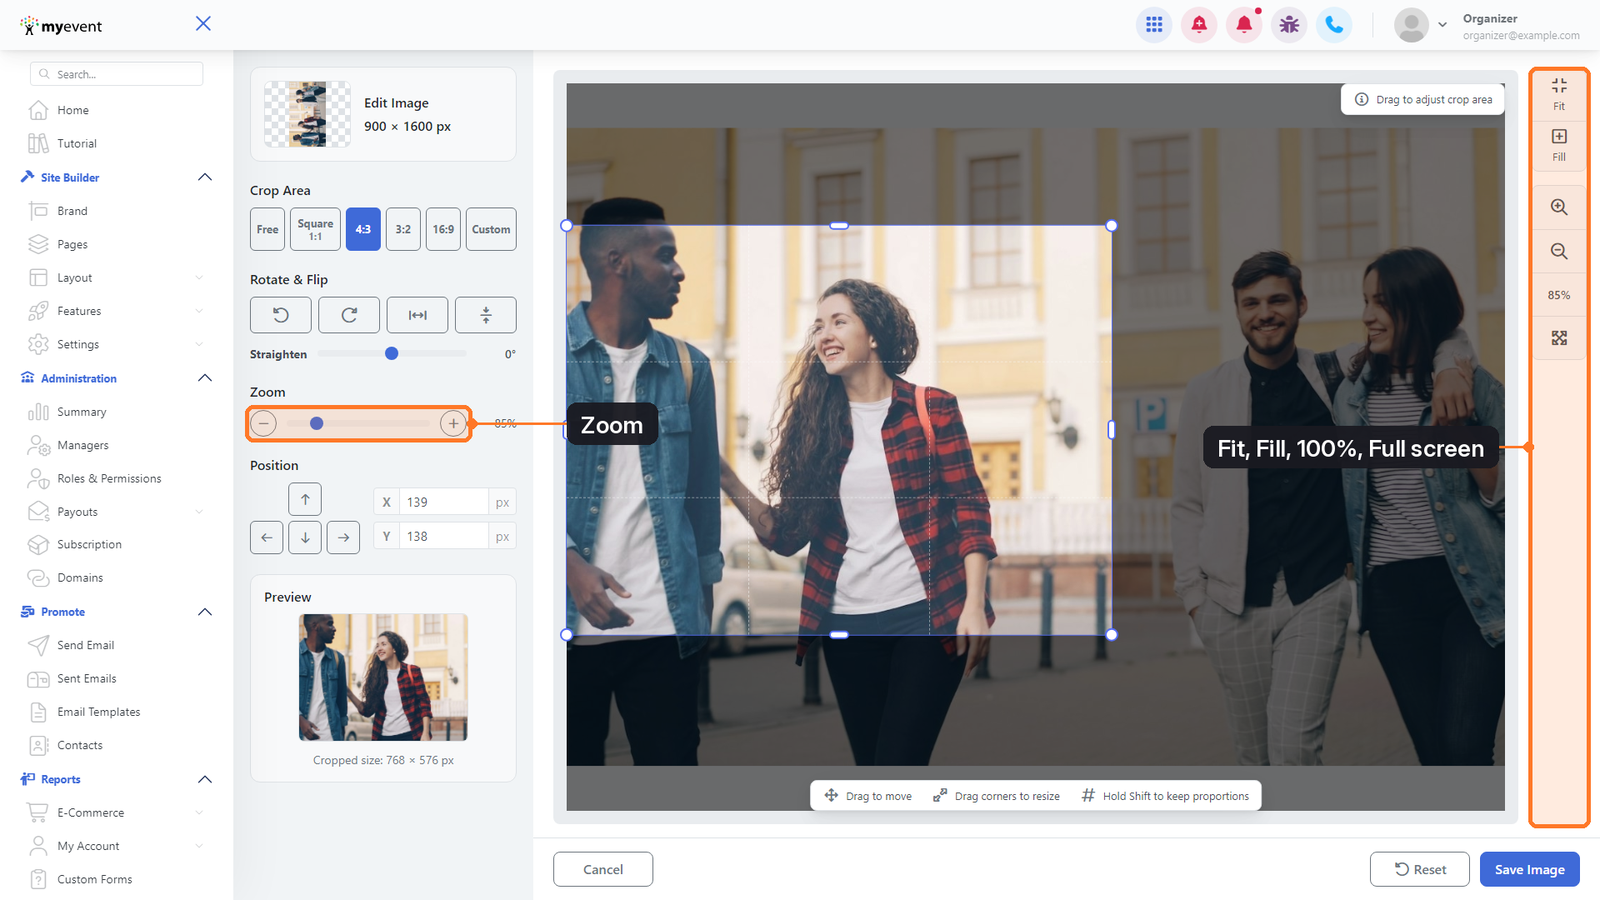
6. Click Fit to automatically resize the image so the entire photo is visible within the editing area.
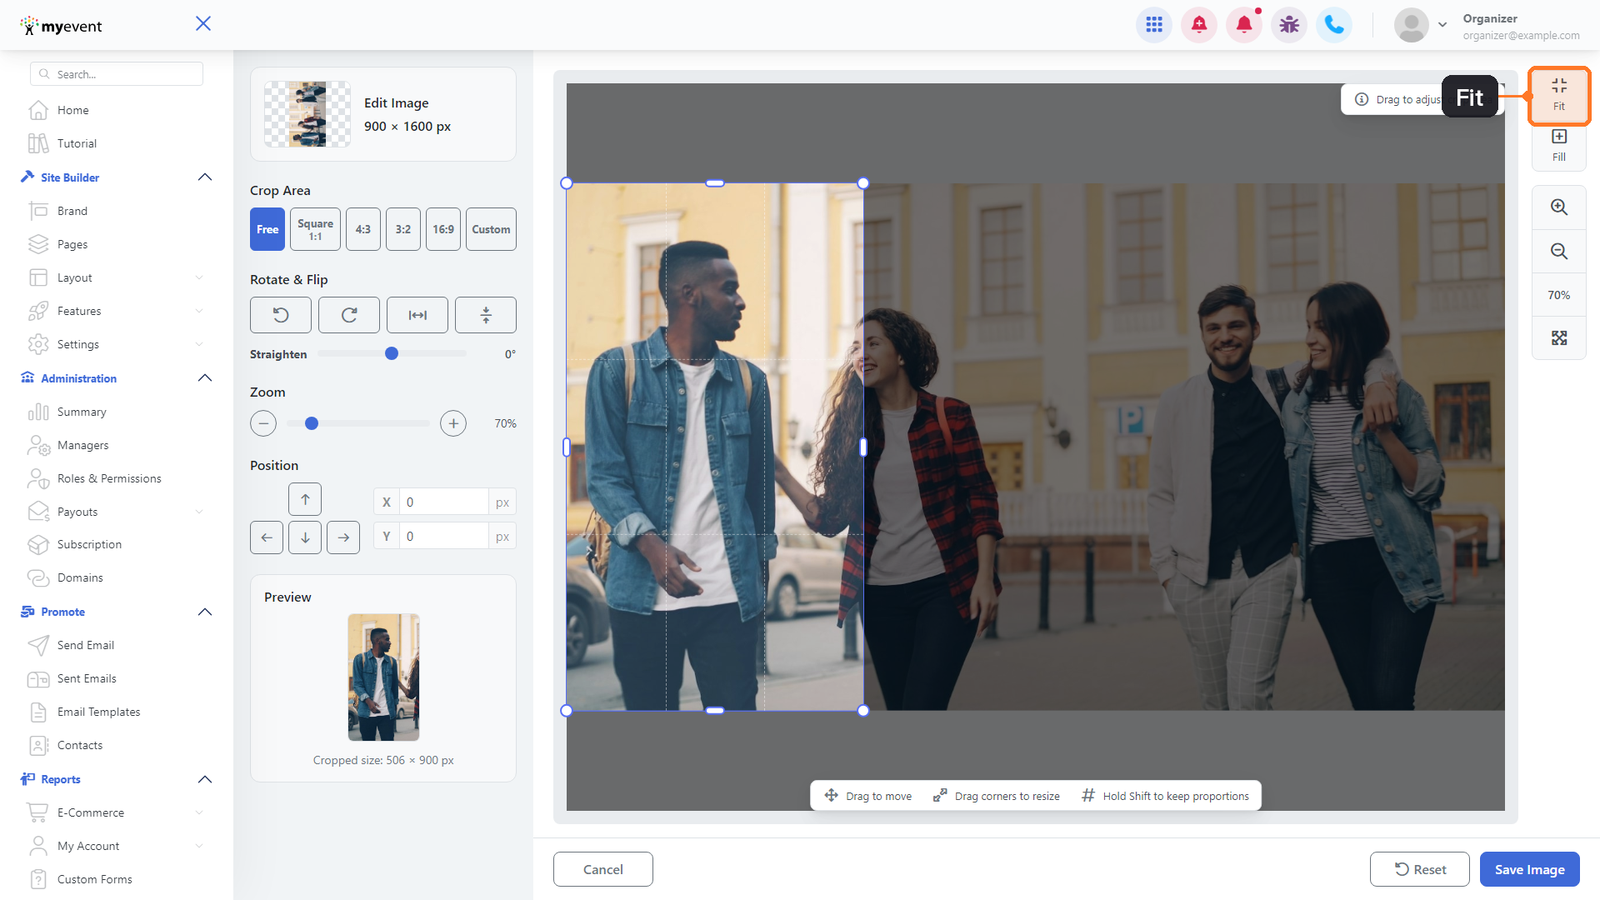
7. Use the Straighten slider to make small rotation adjustments when an image appears slightly tilted.
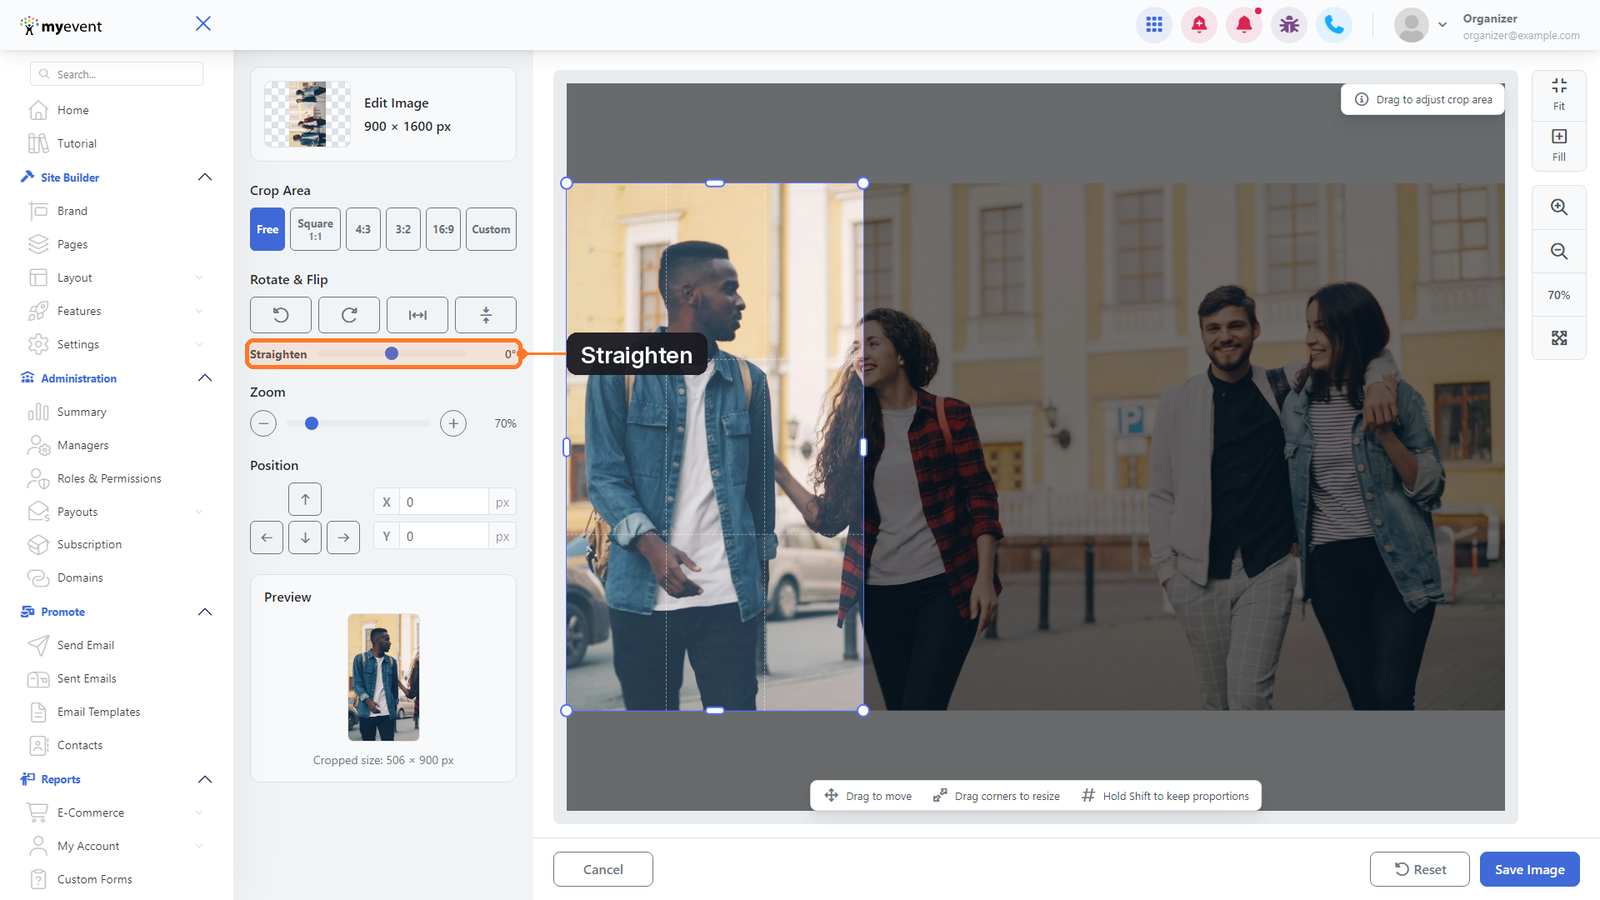
8. Under Crop Area, choose a preset shape or aspect ratio such as Free, Square 1:1, 4:3, 3:2, or 16:9.
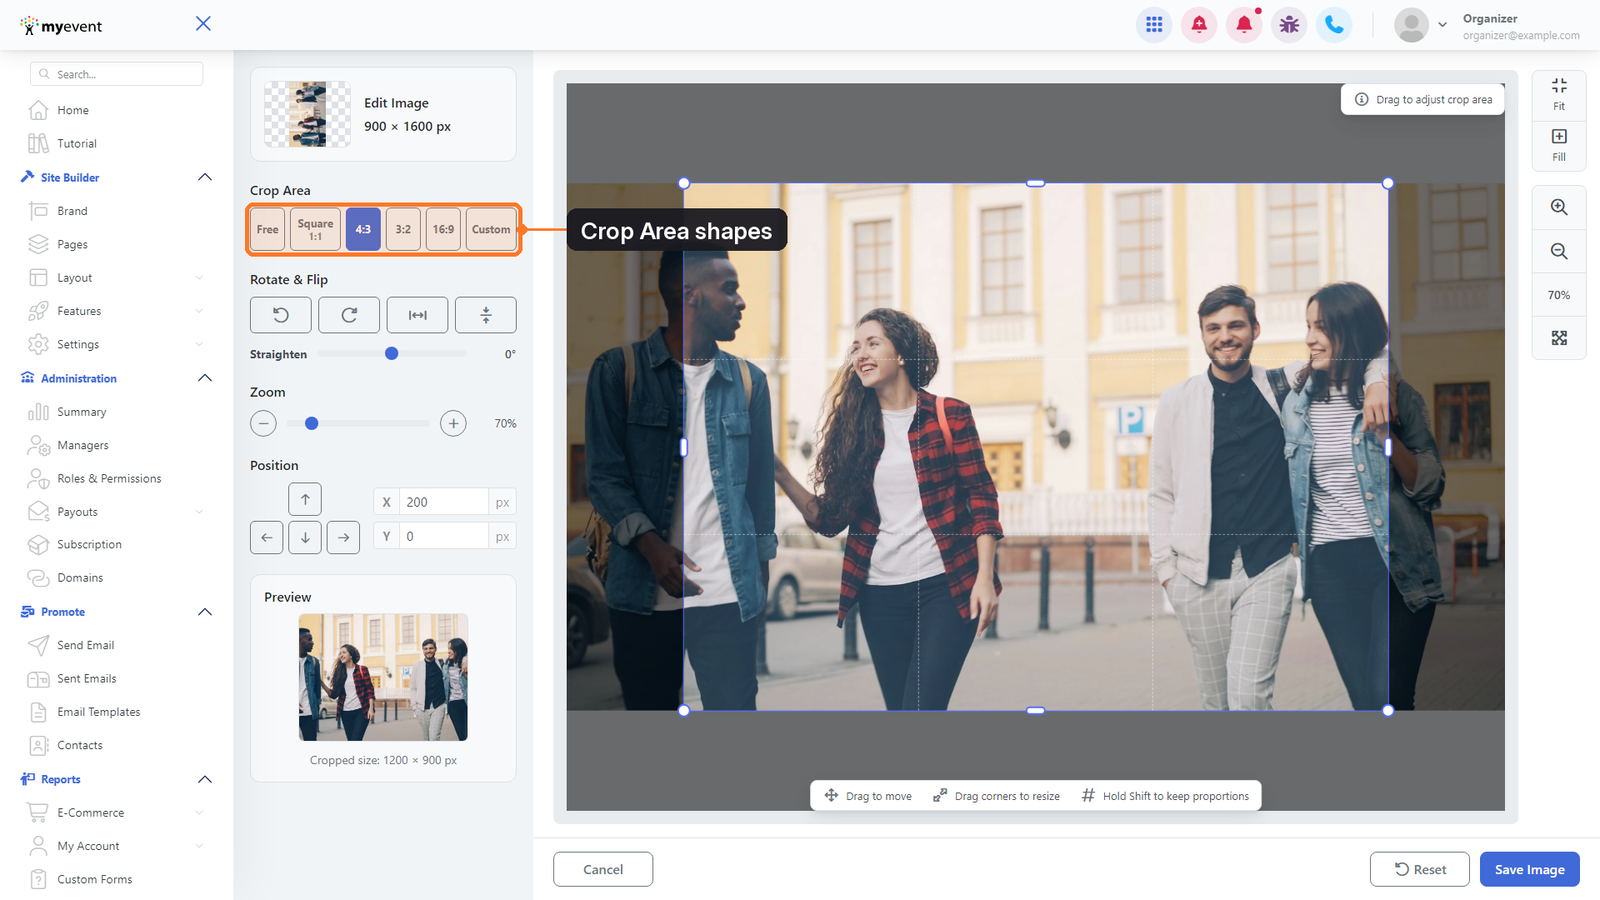
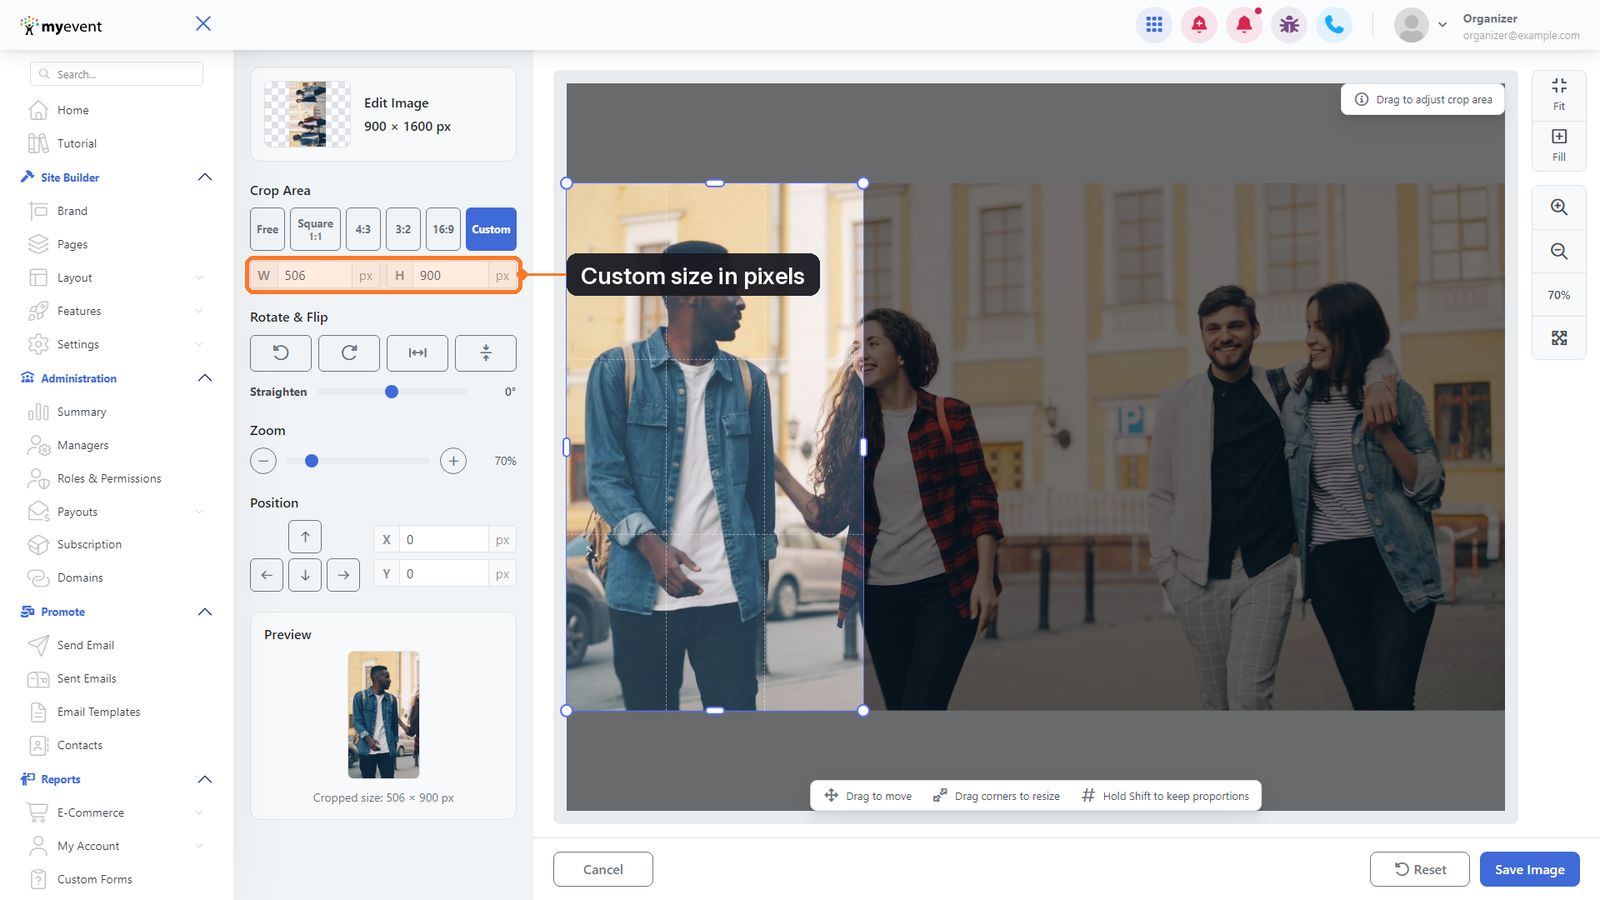
9. Select Custom if you need a specific crop size, then enter the desired width and height in pixels.
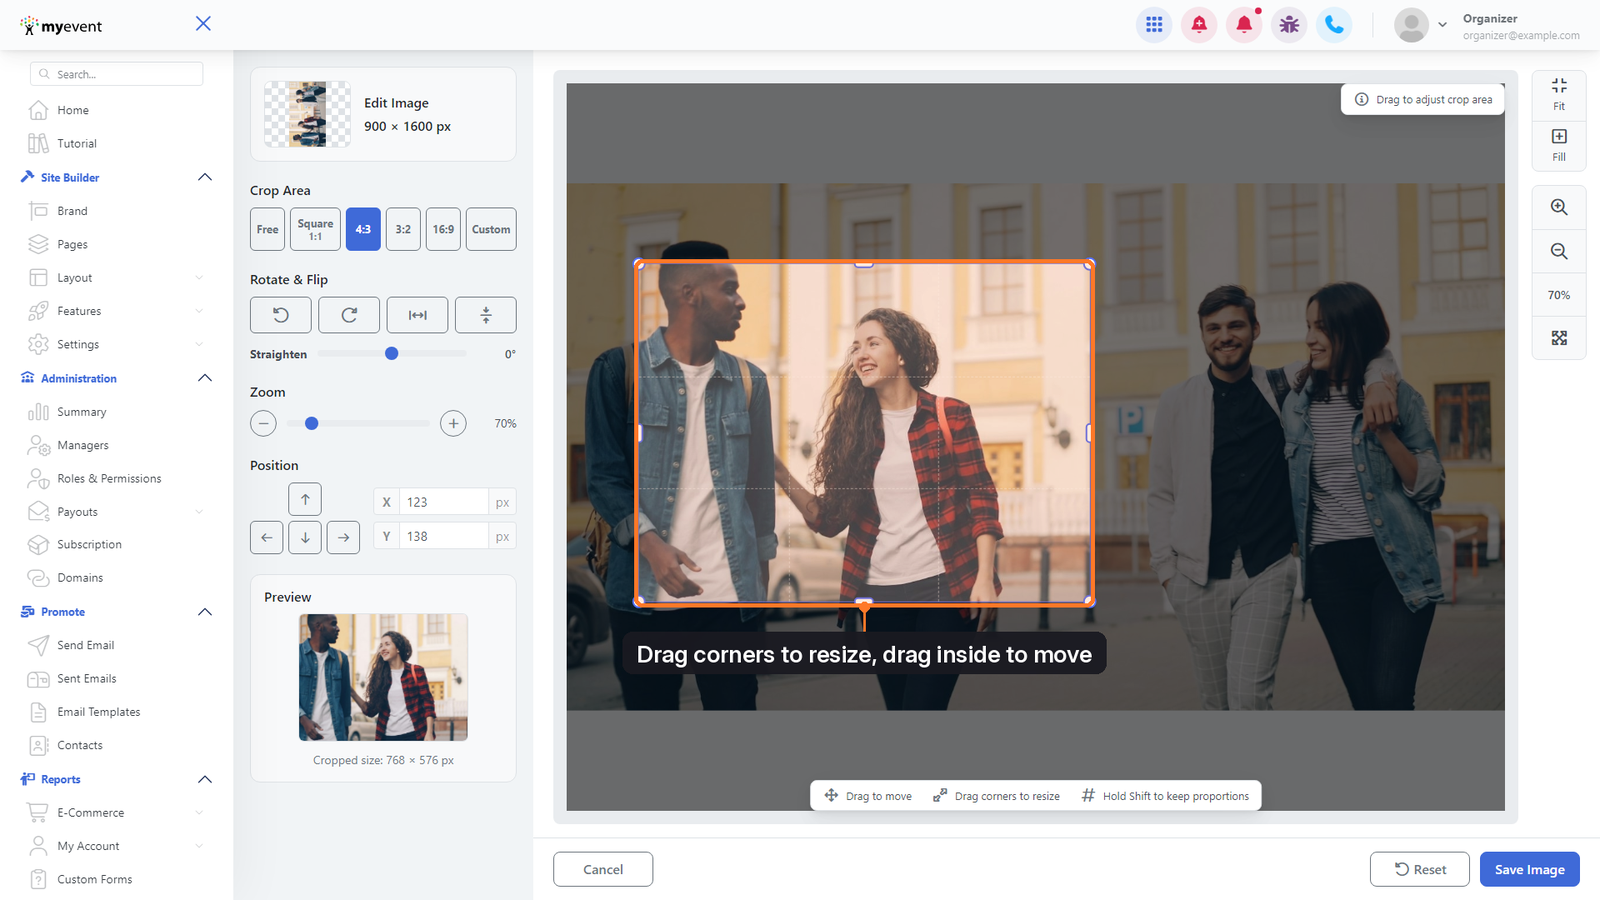
10. You can manually adjust the crop by dragging its corners or edges to resize it. Drag anywhere inside the crop area to reposition it over the part of the image you want to keep.
11. Use the Zoom controls to enlarge or reduce the image. The controls on the right side of the editor also provide quick access to Fit, Fill, zoom in, zoom out, 100%, and full-screen viewing.
12. When you are satisfied with the image, click Save Image. You can also use Reset to undo your current adjustments or Cancel to leave without saving.
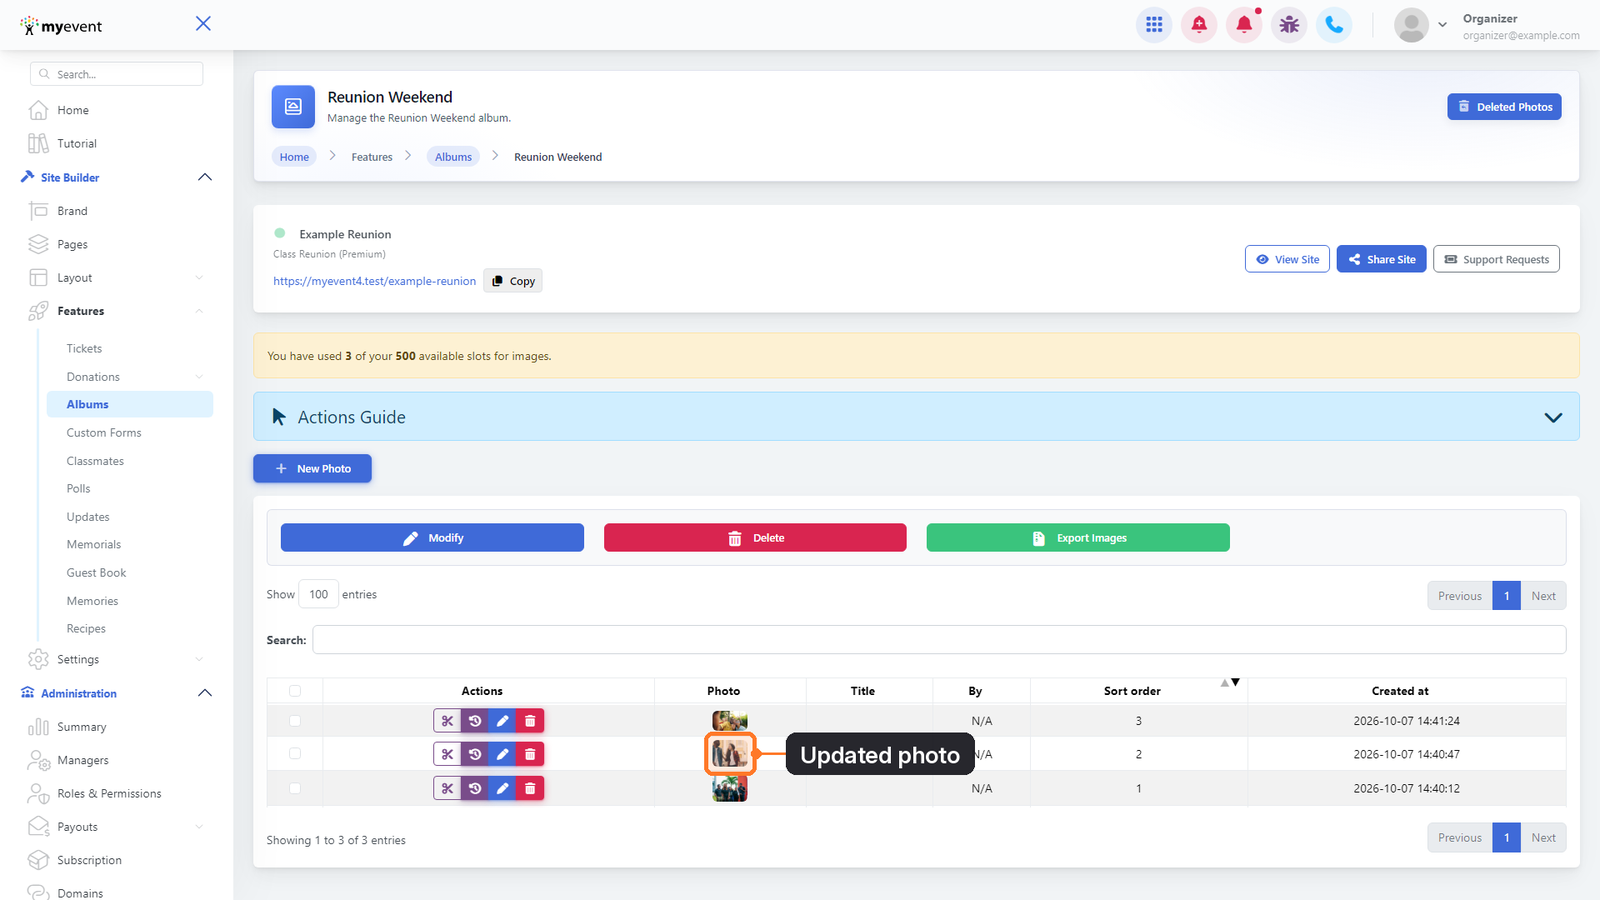
13. After saving, you will return to the album and the photo thumbnail will automatically display the updated version.
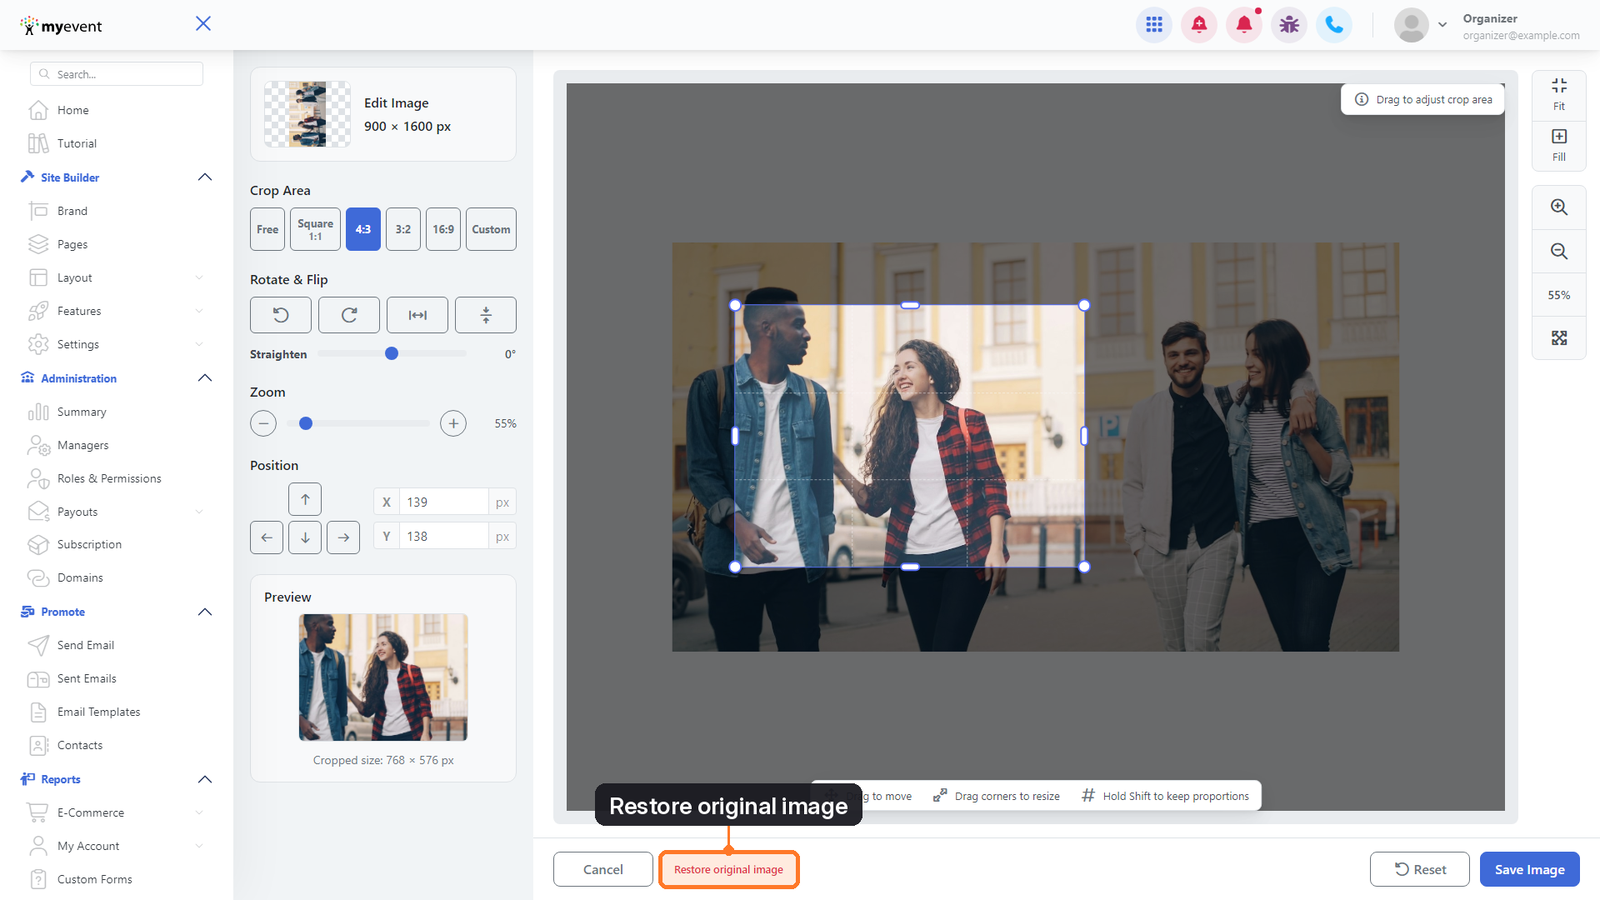
14. If the photo has previously been edited, open the editor again and click Restore original image to return to the originally uploaded version.
Pictures within the in features such as Classmates/Family Member/Participant Profiles and Memorials
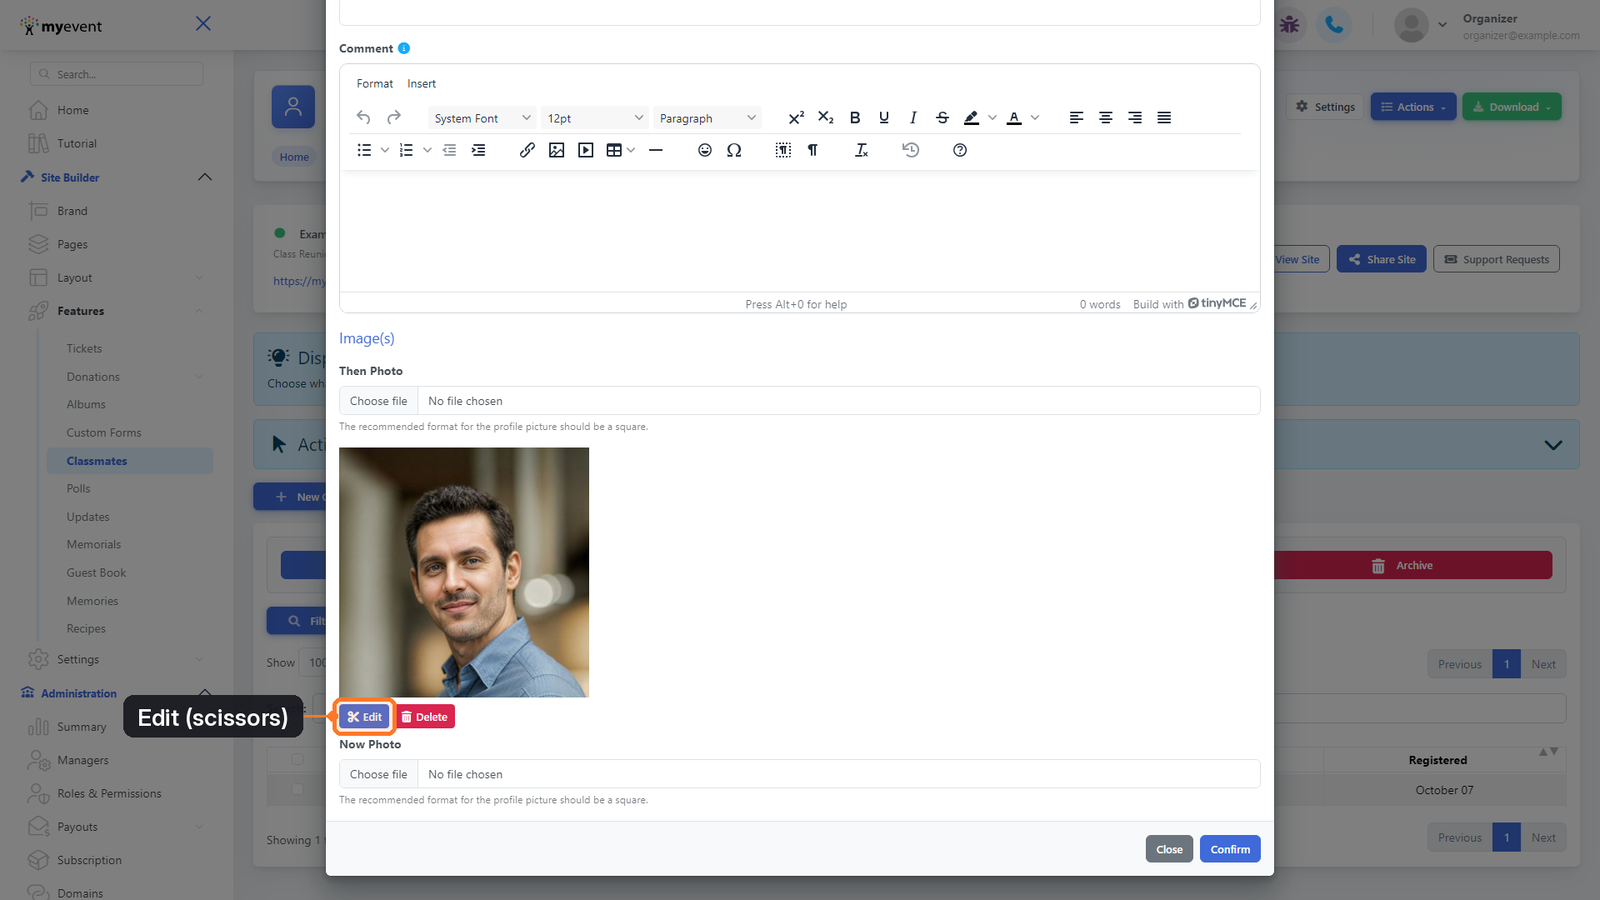
- In your dashboard, go to Site Builder → Features → Classmates, Members, or Family depending on where the profile is. Click the pencil icon to manage the profile, scroll to the bottom, and click the scissors icon below the profile image to edit it.
Important: These edits will appear on your live website, however if you don't see your changes immediately, please refresh the page. Occasionally, some browsers may cache the old version, and a reload of the page may be required to see the change.
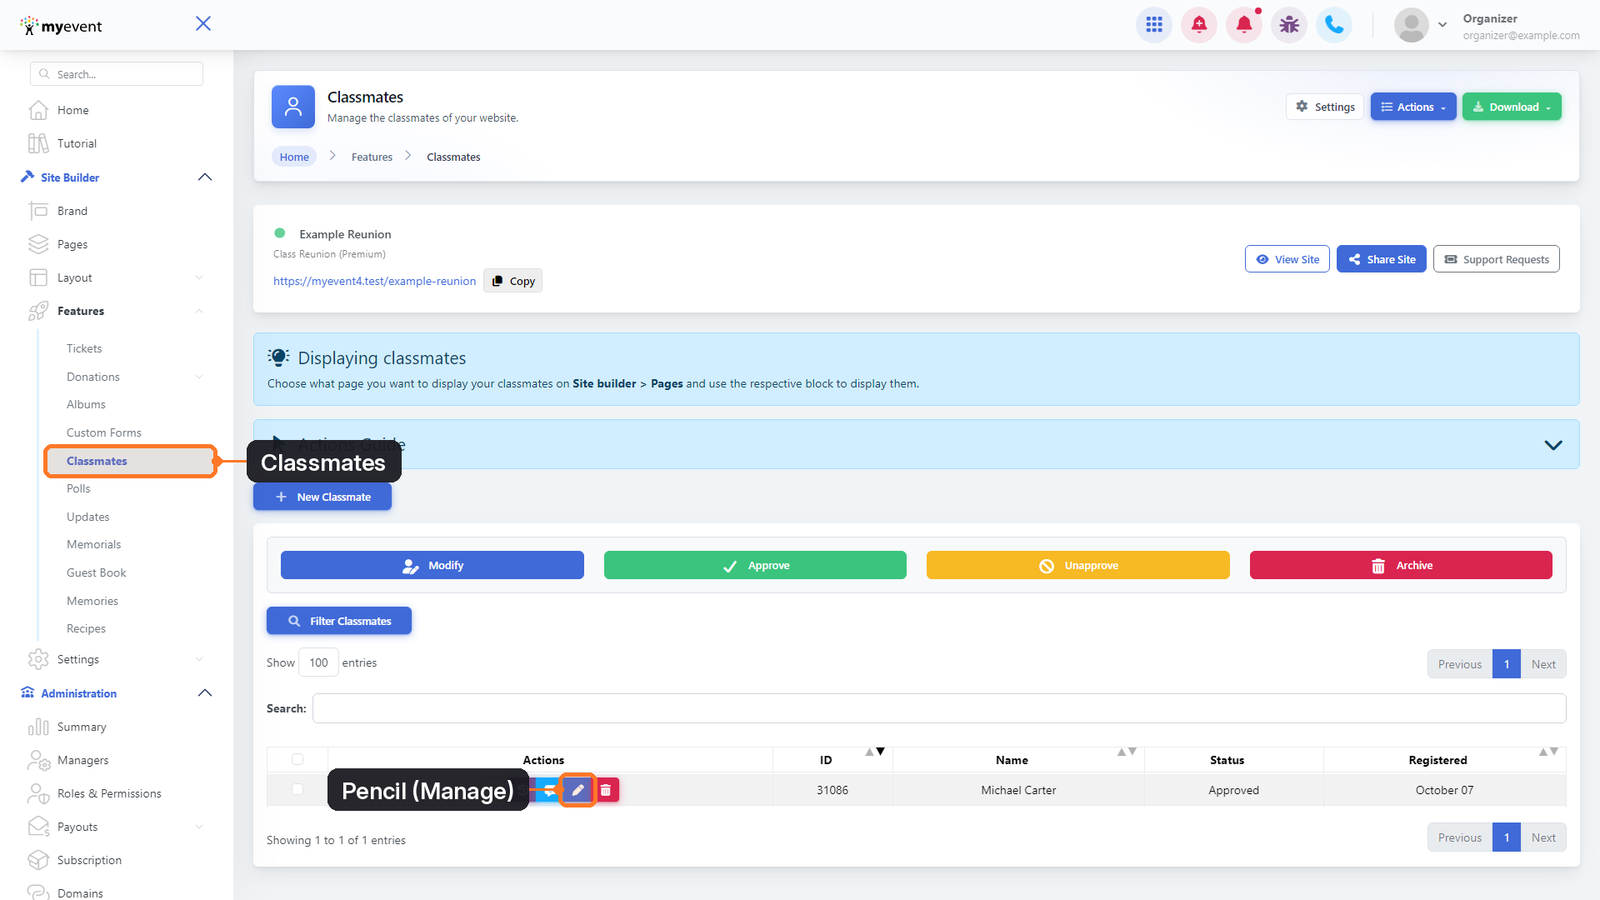
16. Find the classmate and click the pencil icon to manage their information. Under their existing photo, click the Edit button with the scissors icon.
17. For profile pictures, the editor displays a round guide to show how the image will appear when displayed as a circular profile photo. Reposition or resize the image until the subject fits correctly inside the circle, then click Save Image.