Custom questions allow you to collect specific information from each person purchasing a ticket.
Why Add Custom Questions?
Custom questions help you gather important details such as:
-
Dietary restrictions or allergies
-
T-shirt sizes
-
Emergency contact information
-
Workshop or session preferences
-
Accessibility requirements
-
Team or company affiliations
-
Special requests or accommodations
Step 1: Edit Your Ticket
Navigate to your Tickets section by going to Site Builder → Features → Tickets and select the ticket you want to add questions to. Click 'Questions' in light blue to open the custom question settings.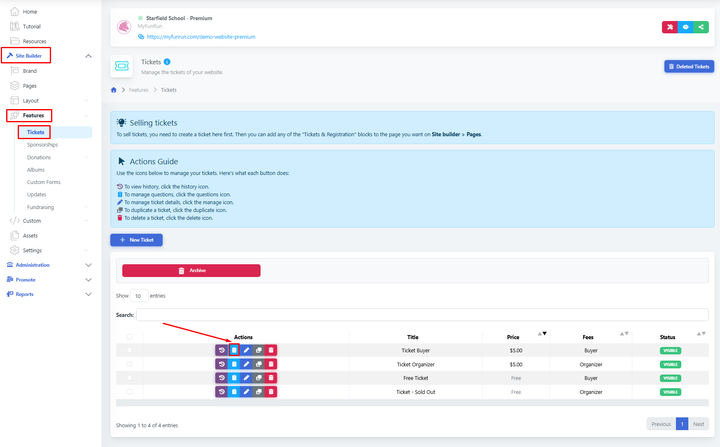
Step 2: Add a New Question
Click '+ New Question' to create a new question.
Step 3: Configure Your Question
For each question, configure the following:
-
Question Type: Choose from text, dropdown, multiple choice, checkbox, date, file upload, etc.
-
Question Text: Enter the question you want to ask
-
Required: Toggle to indicate if this question must be answered
-
Answer Options: For dropdowns and multiple choice, add the available options
Step 4: Question Types and When to Use Them
-
Text Input: For short answers like names or company names
-
Text Area: For longer responses like special requests or comments
-
Dropdown: When you have many options but only allow 1 answer and want to save space (e.g., selecting from 50 states)
-
Radio Buttons: Multiple choice question with only 1 answer permitted (e.g., Yes/No, meal choices)
-
Checkboxes: When multiple selections are allowed (e.g., multiple workshop interests)
-
Date Picker: For date selections (e.g., date of birth)
Step 5: Arrange the Order of the Questions
Use drag-and-drop functionality to reorder your questions in a logical flow. Group related questions together.
Step 6: Save Your Changes
Click 'Save' to apply the custom questions to your ticket. All new purchases of this ticket will include these questions.
Viewing Collected Responses
To view the answers to custom questions:
-
Go to your event's Participants or Registrations section
-
Click on individual participants to view their responses
-
Export participant data to include custom question responses
-
Use filters to segment participants based on their answers
Best Practices
-
Only ask truly necessary questions
-
Make questions unambiguous
-
Use required fields sparingly - too many can discourage registration
-
Test the registration flow to ensure questions appear correctly
-
Consider the mobile experience when designing questions
-
Review and update questions for each event to keep them relevant
Common Examples
Example 1: Meal Preference
-
Type: Radio Buttons or Dropdown
-
Question: "Please select your meal preference."
-
Options: Vegetarian, Vegan, Gluten-Free, No Restrictions
-
Required: Yes
Example 2: T-Shirt Size
-
Type: Dropdown
-
Question: "T-Shirt Size"
-
Options: XS, S, M, L, XL, XXL, XXXL
-
Required: Yes
Example 3: Emergency Contact
-
Type: Text Input
-
Question: "Emergency Contact Name and Phone"
-
Help Text: "Please provide a name and phone number of someone we can contact in case of emergency."
-
Required: Recommended but not always required